THE DAILY GRIND: AN IoT KG79 COFFEE GRINDER
Ground coffee is great. Grinding coffee is a pain.
Having hand-ground coffee daily for years I was in the market for something quicker.
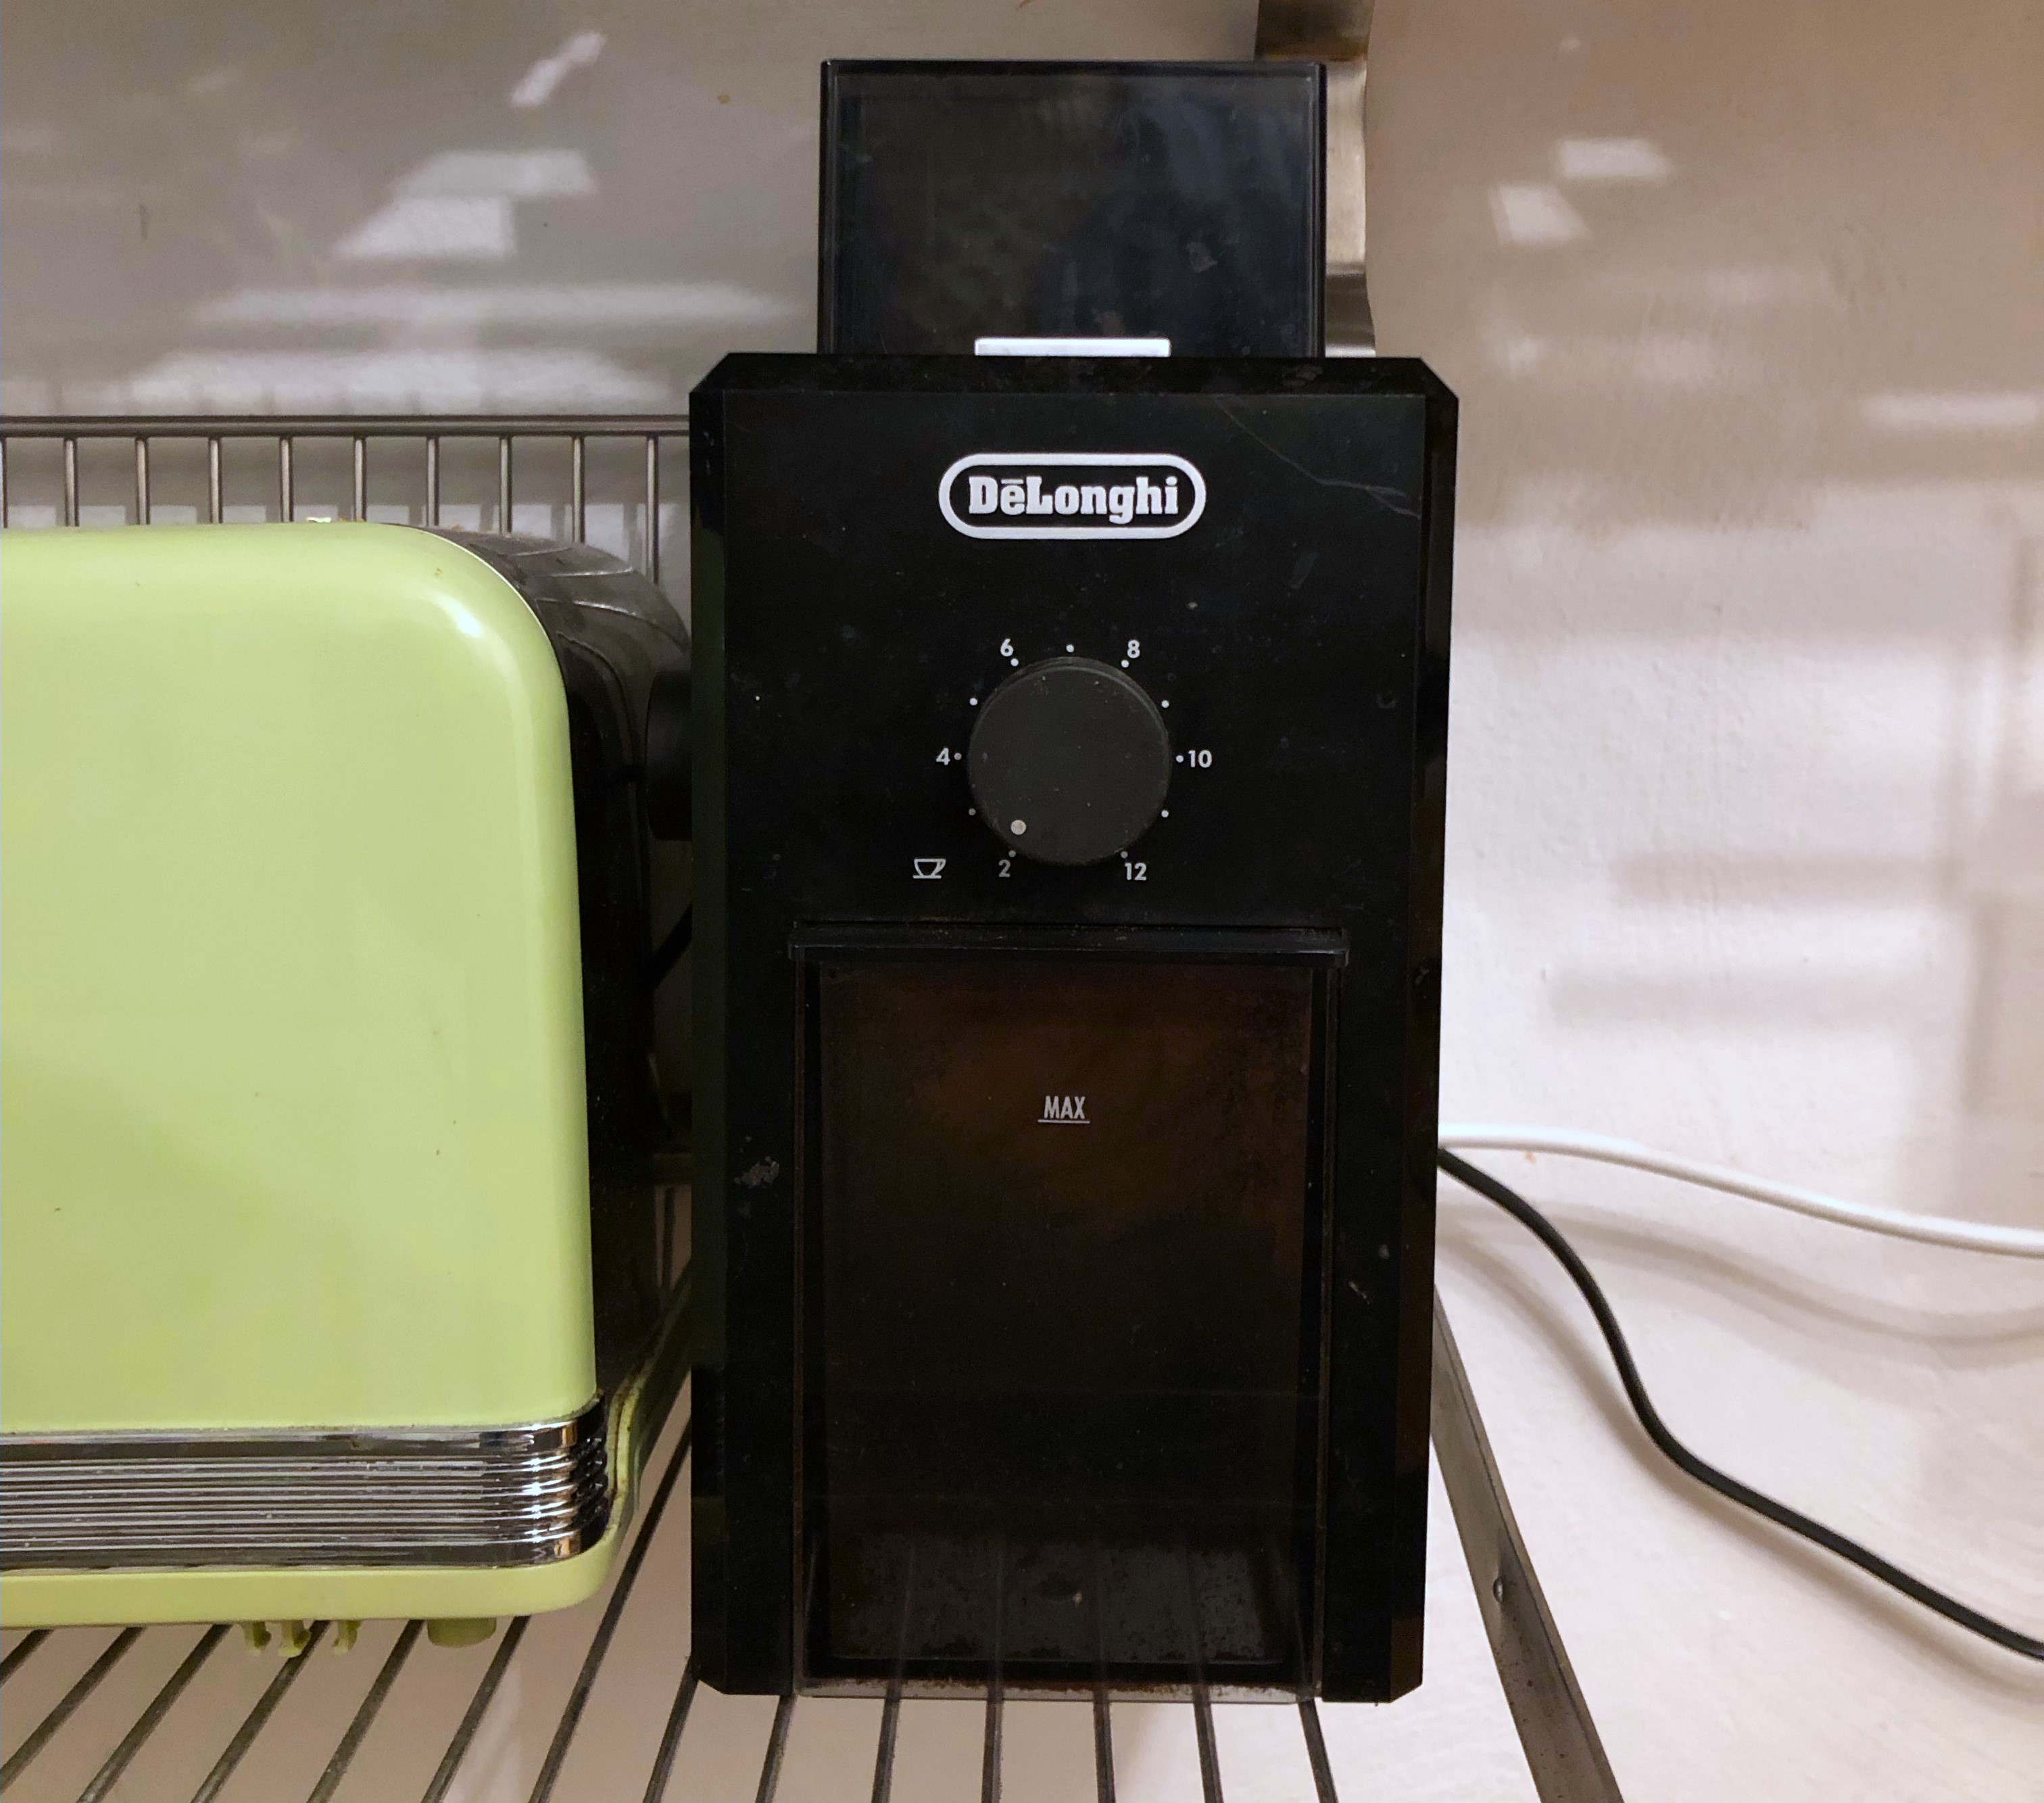
The Delonghi KG79 is ideal in its price range
- £40 (not adjusted for cost of living crises etc.)
- adjustable dose
- adjustable grind size
- fairly inoffensive looking object
- you can fit a bag of coffee in the top
requirements
But the thing has it has flaws
- it’s very loud
- it grinds too much coffee at once
What I wanted to do was
- control it remotely via a web interface
- reduce the amount of coffee it grinds in one go
There are various tutorials where people take these KG79s and KG89s (identical inside) to decrease their grind size for espresso. But I couldn’t find any examples of controlling these using a microcontroller.
It seemed like this was a good excuse to ’learn Raspberry Pis'.
build along at home
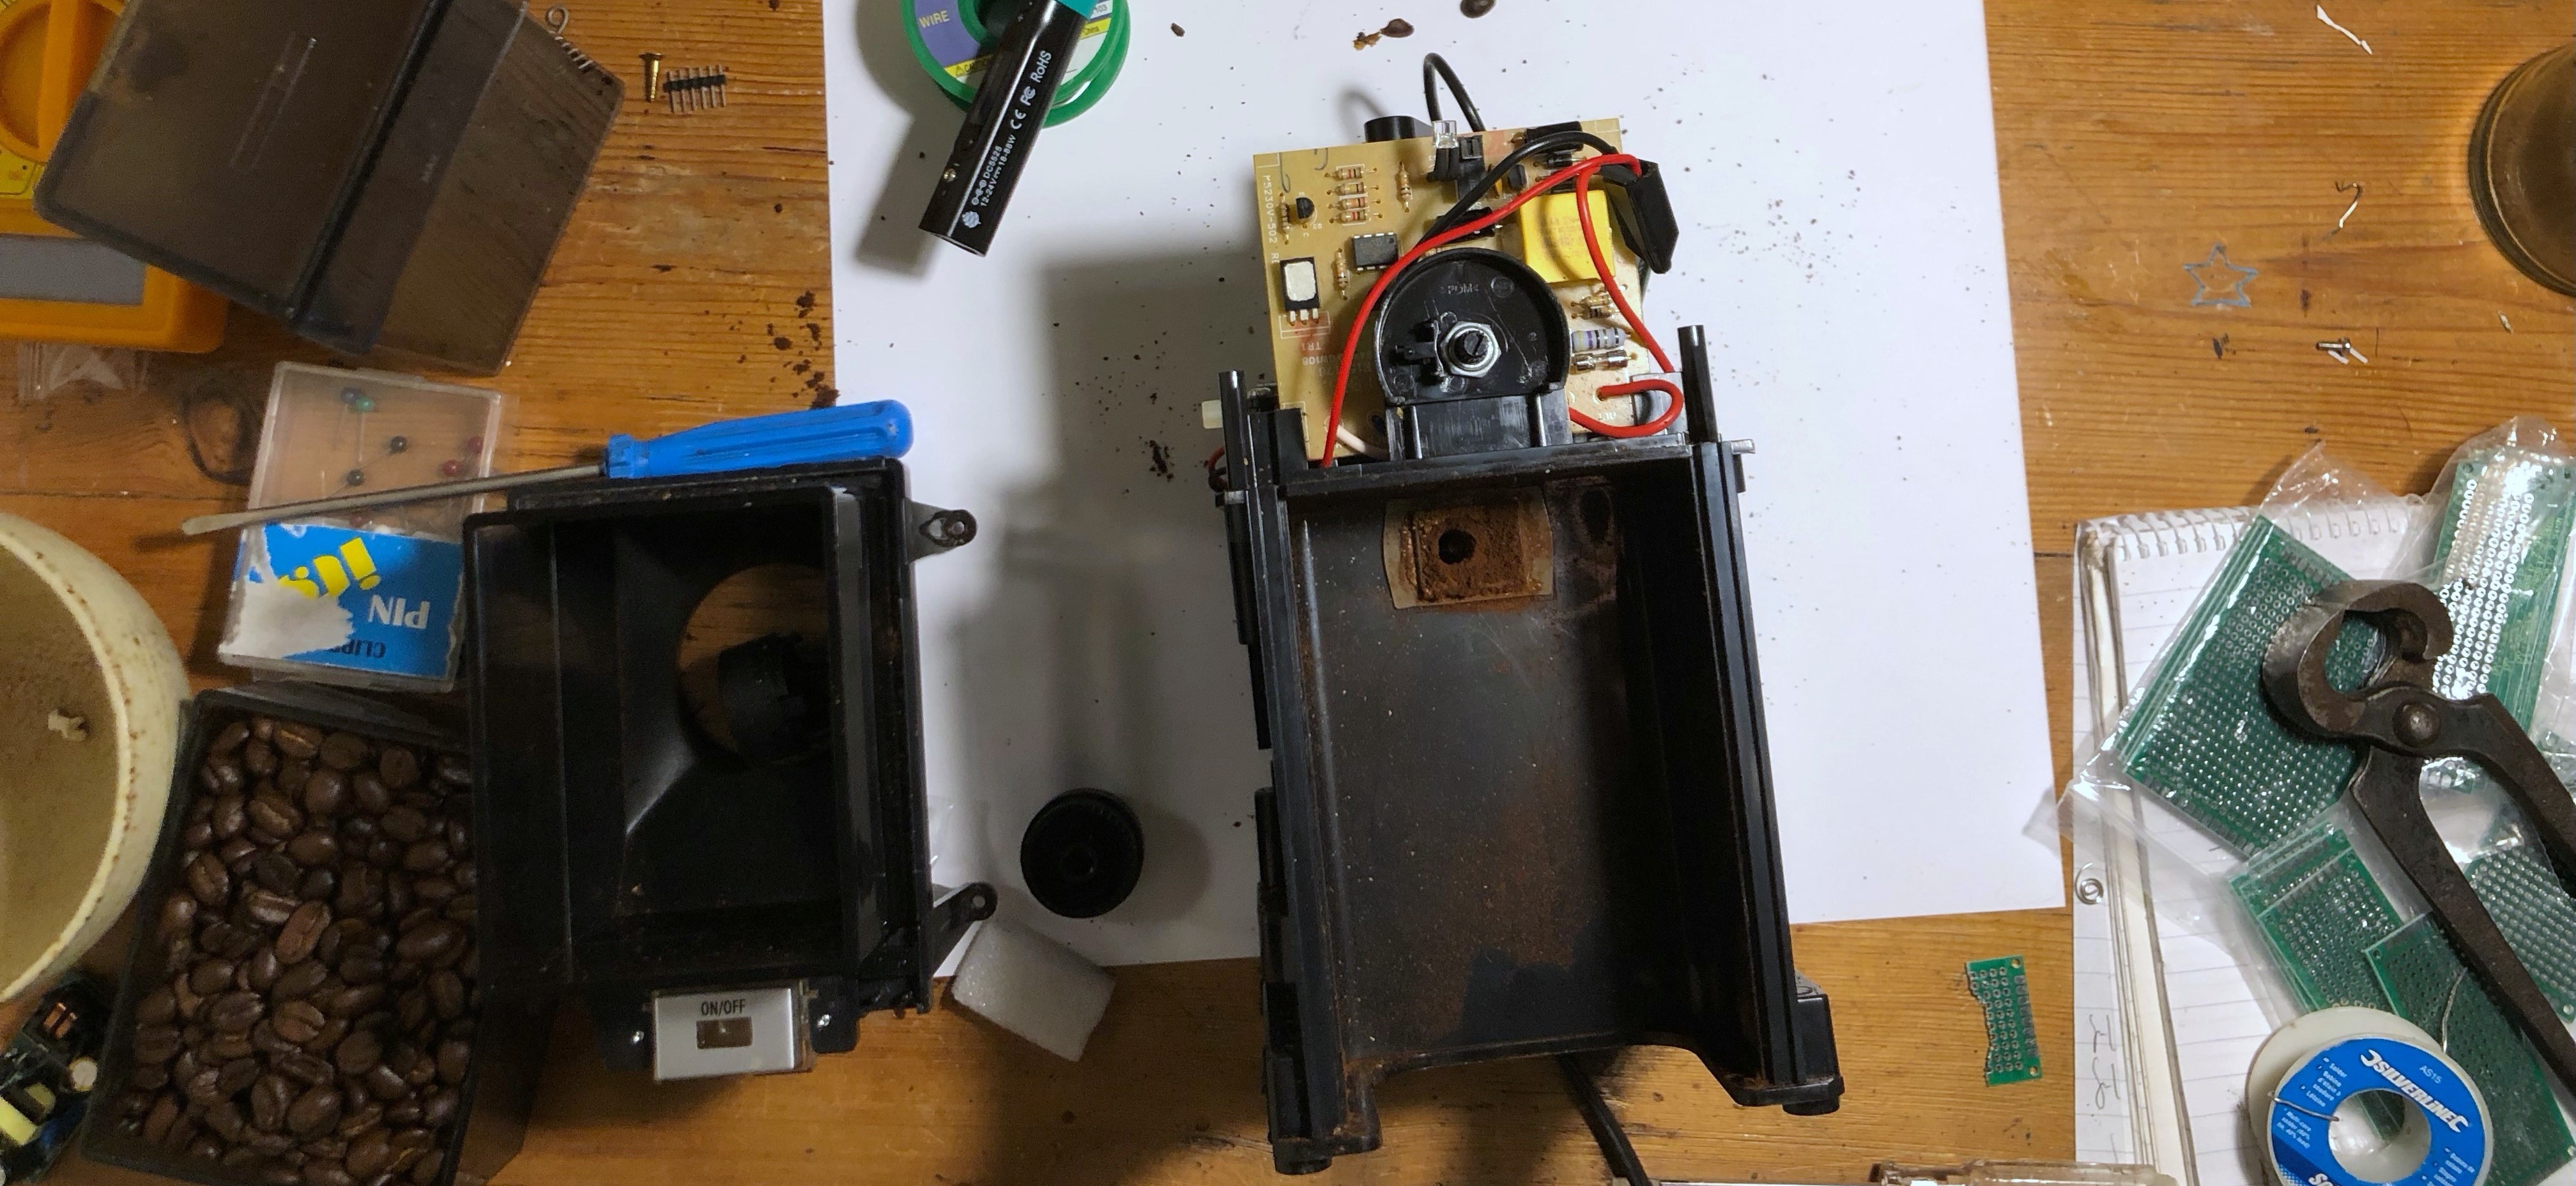
1. understand the circuitboard
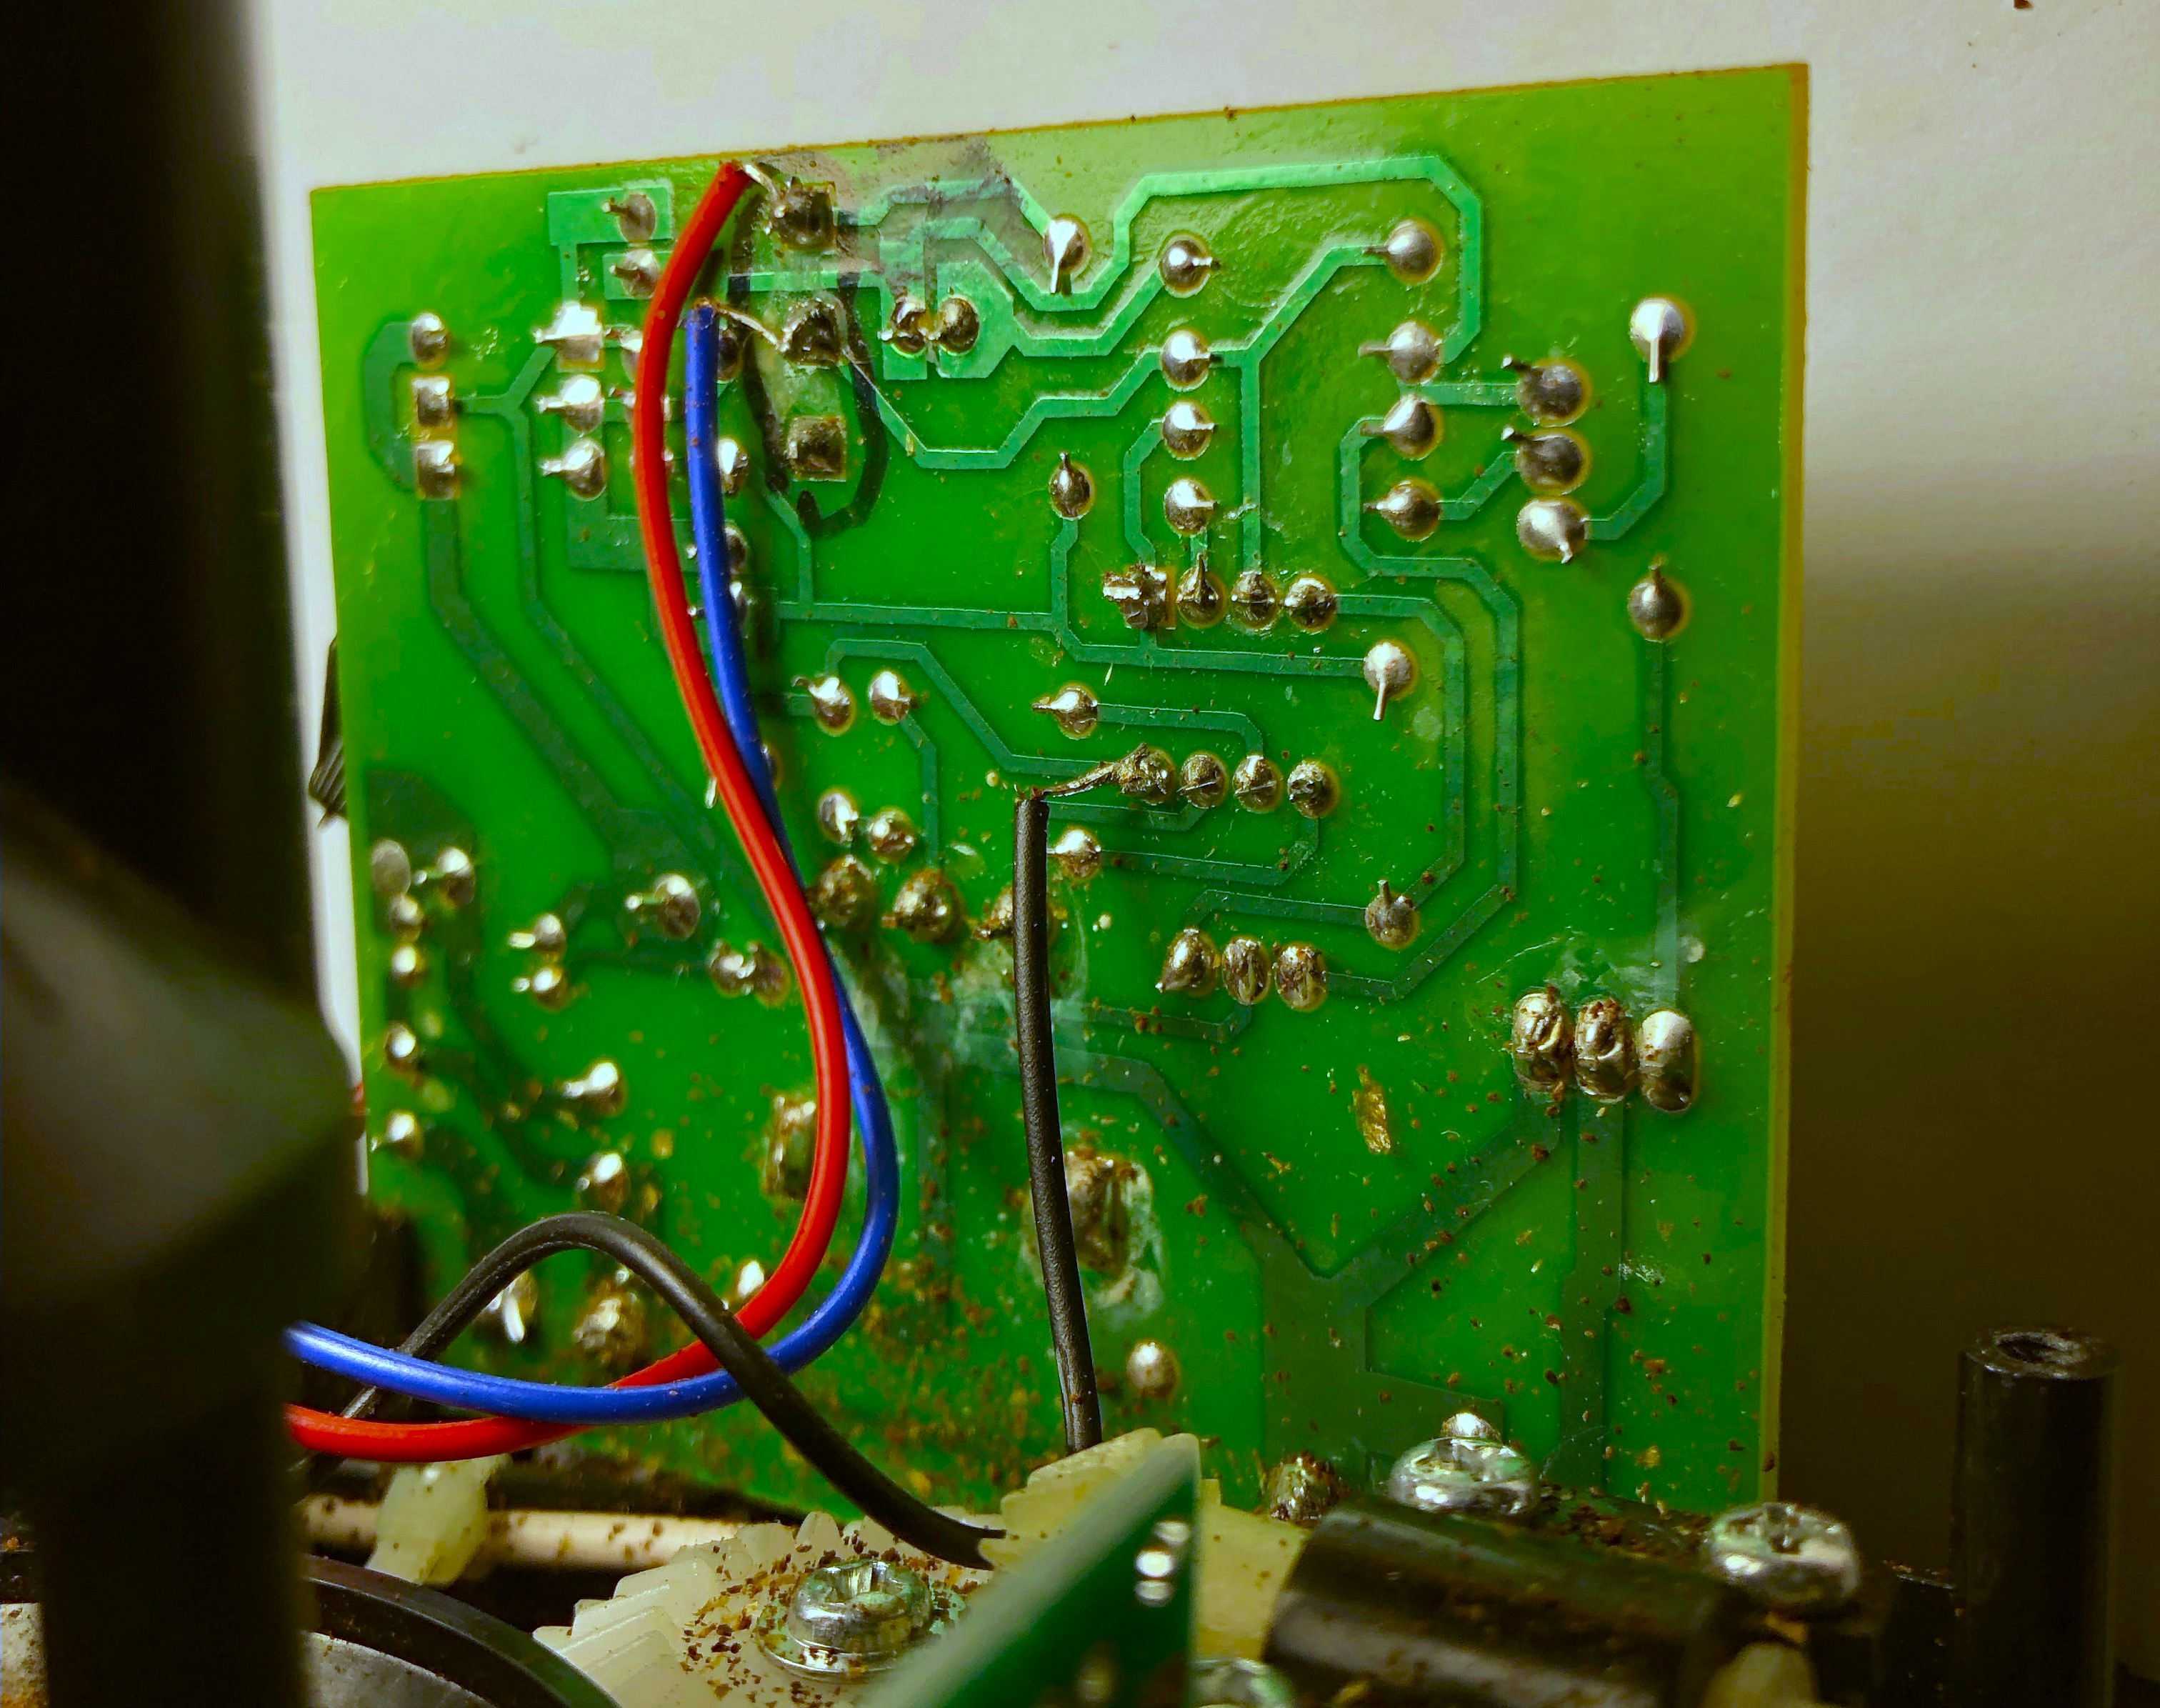
After a bit of studying the circuitboard, and shorting pins at random on the main microchip, I found that bridging the switch seemed to make the grinder believe the button had been pressed.

2. short-circuit with a transistor
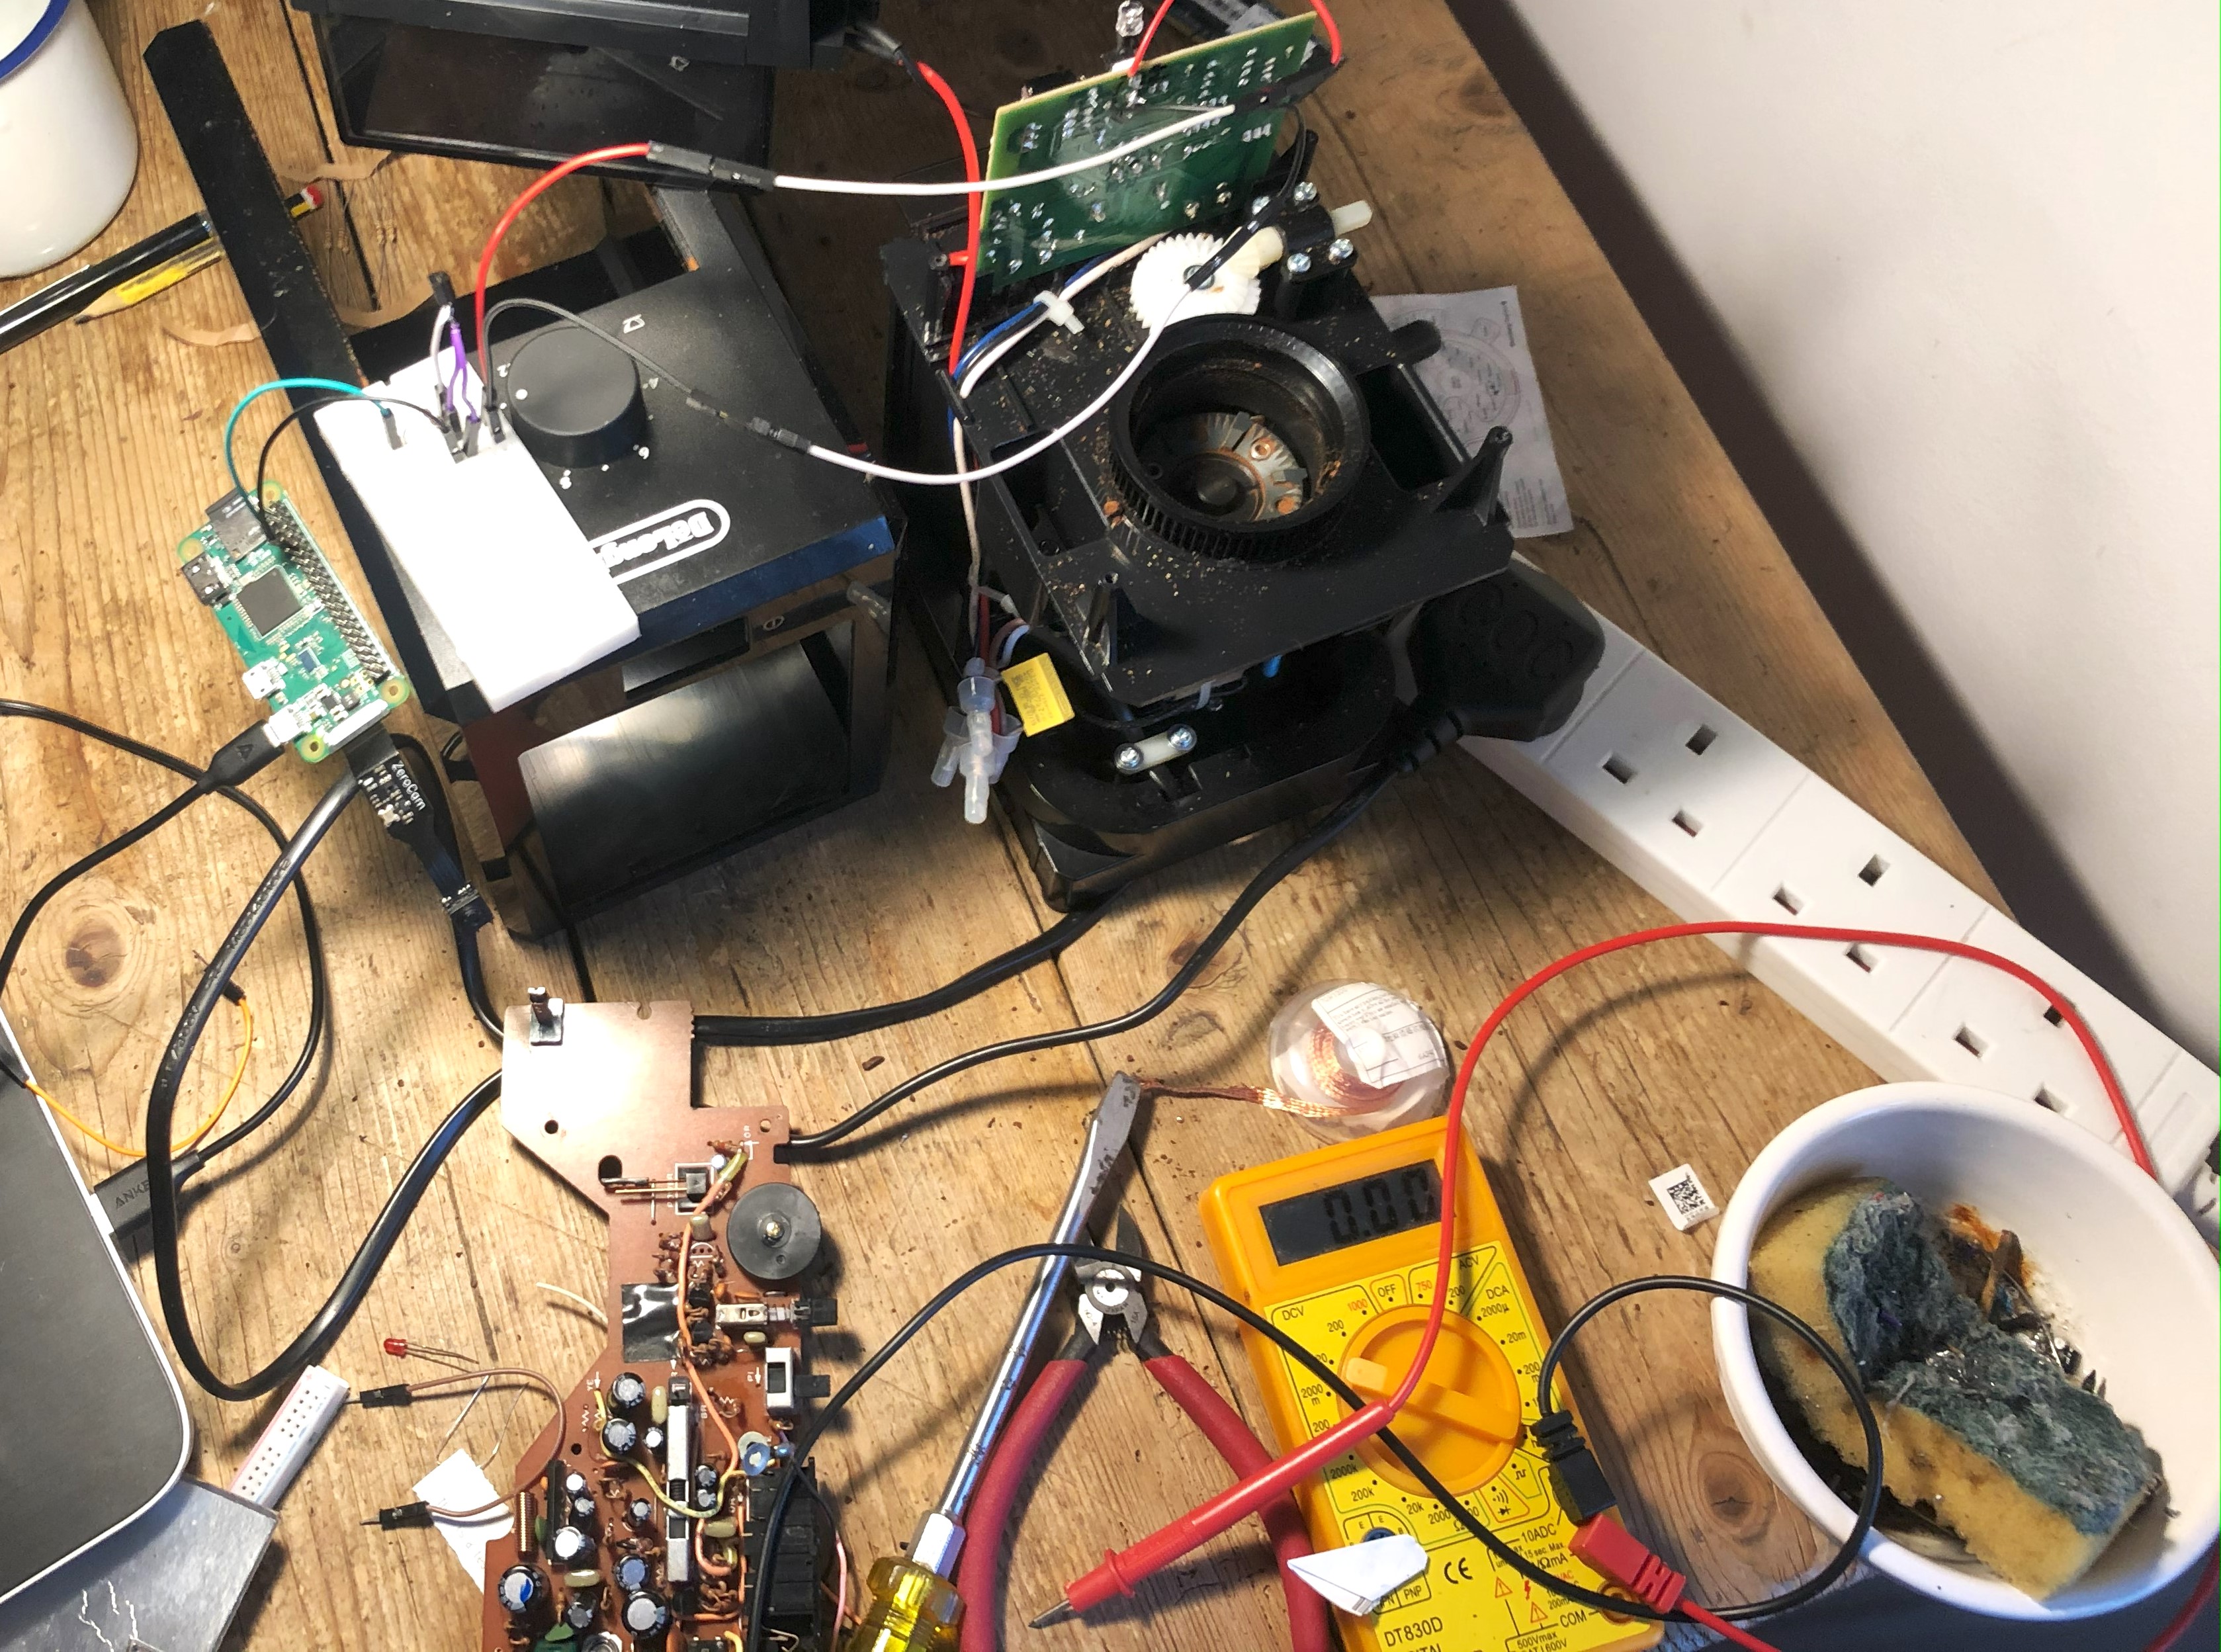
I wanted to control this using a Raspberry Pi. I only need one GPIO pin and an internet connection, so Pi Zero W was the obvious choice.
Setting this up involved doing it headless over SSH which was a pain to learn for the first time.
3. use the pi to bridge the pins
I used an 2N2222 transistor to bridge the microchip pins, and the Pi to activate the transistor.

A transistor is pretty much an electronically activated switch. A transistor has three legs:
- Collector
- Base
- Emitter
When it receives voltage from the Pi on the Base leg, it allows current to pass from the Collector to the Emitter. In other words, the Pi has ‘closed the switch’.
4. build a flask app
I used Flask to build a basic HTML page based on an HTML form. The button is built in CSS, and when it is clicked it updates a value in the HTML form using javascript.

This form is hidden from the user, apart from the ‘grind’ button which submits the form. The Pi receives this as a POST API call that contains the grindTime set by the dial.
I set the Pi to have a static IP address 192.168.1.100. This means the flask interface can be accessed by any device on my local network by navigating to the IP. I also set a redirect from my website sam.wnwrght.co.uk/coffee so that I can share this link via whatsapp when I have guests.
5. use a python script to control the grinder
The Pi pulls the GPIO pin high, activating the transistor - effectively pressing the button - and waits for the time dictated by the grindTime variable.
Then it ‘presses the button’ again to stop the grinder.
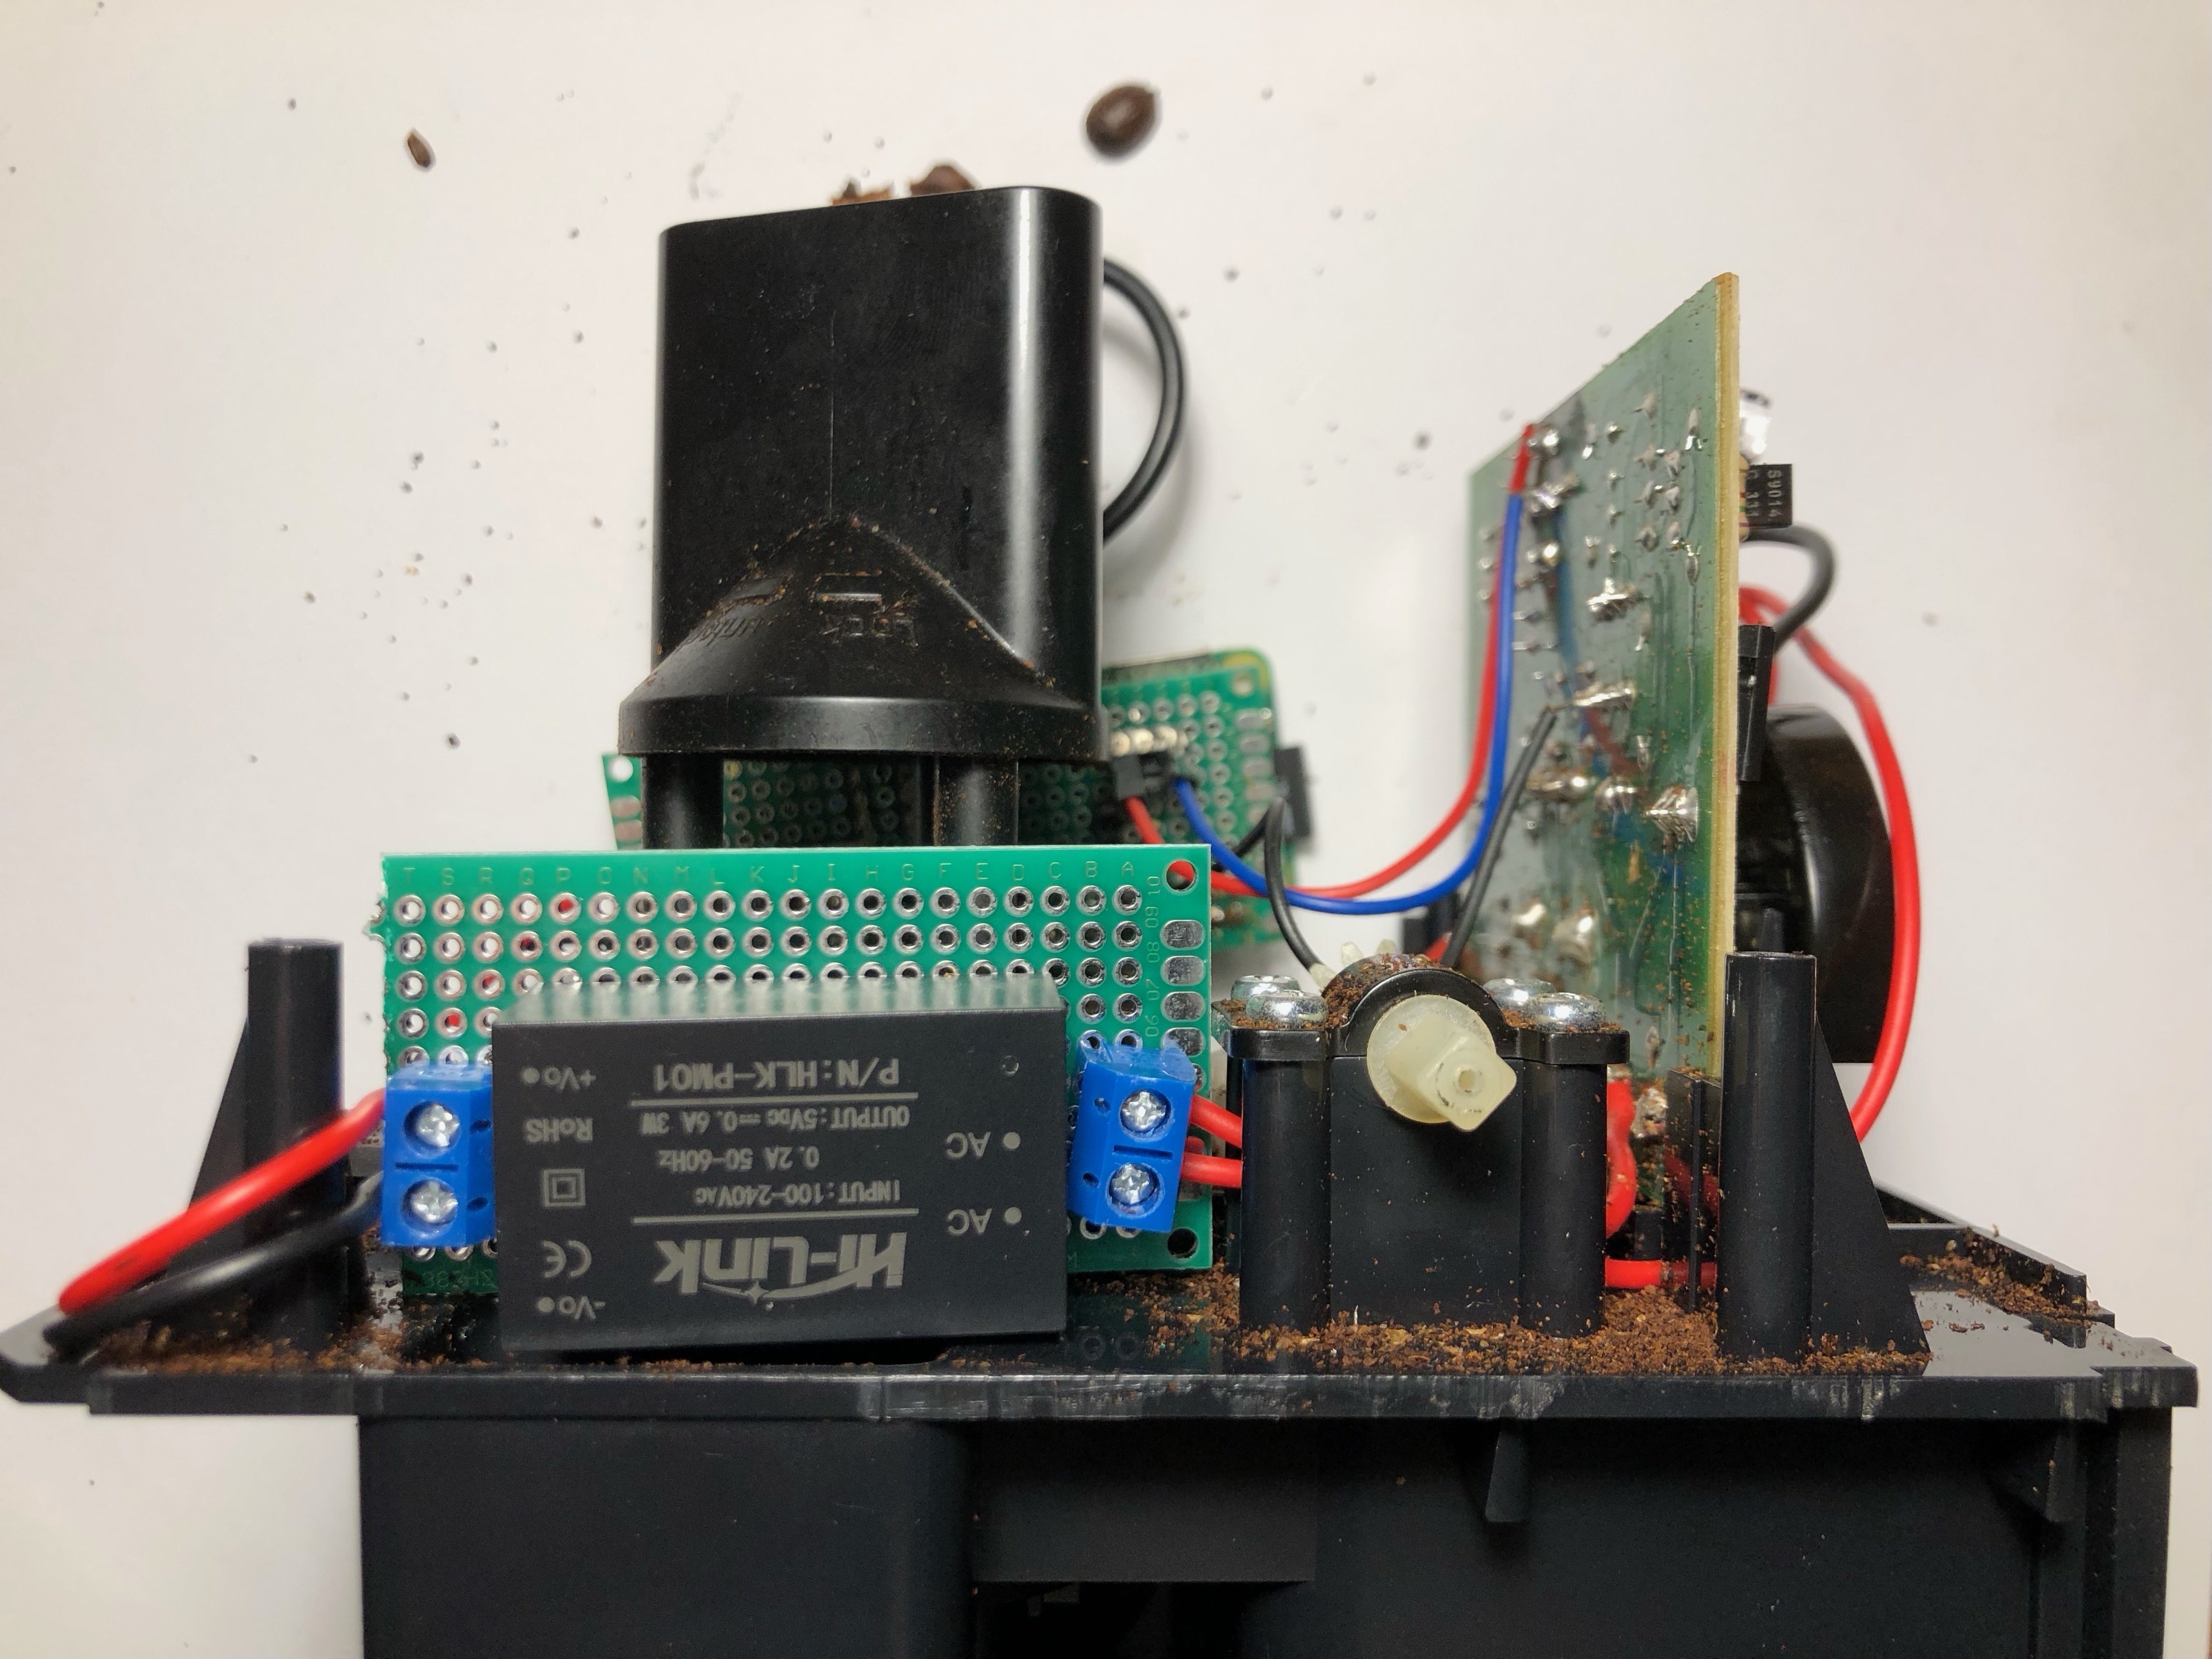
6. power the pi from ac
I used an AC-DC 220V to 5V Power Supply module to power the Pi directly off the AC that drives the grinder.
7. grind coffee from bed
Self-explanatory step.
result
A fantastic IoT coffee grinder.
update 11 Nov 2023
Despite what the Raspberry Pi foundation might want you to think, IoT doesn’t solve all problems.
The KG79 sheds grounds all over the place. I put it on a tray, but there are various Thingiverse objects that solve this problem, like:
- this tray
- a replacement coffee compartment so you can grind directly into a portafilter
- or the same but for aeropress.
The hopper also isn’t quite large enough for 250g coffee. I have considered remaking the case from wood, including a larger hopper.